
A lot of tray roofing is not being installed correctly with components being left out.
Here are some tips about how your Roofing Installer shoud be prepping and installing tray roofing correctly
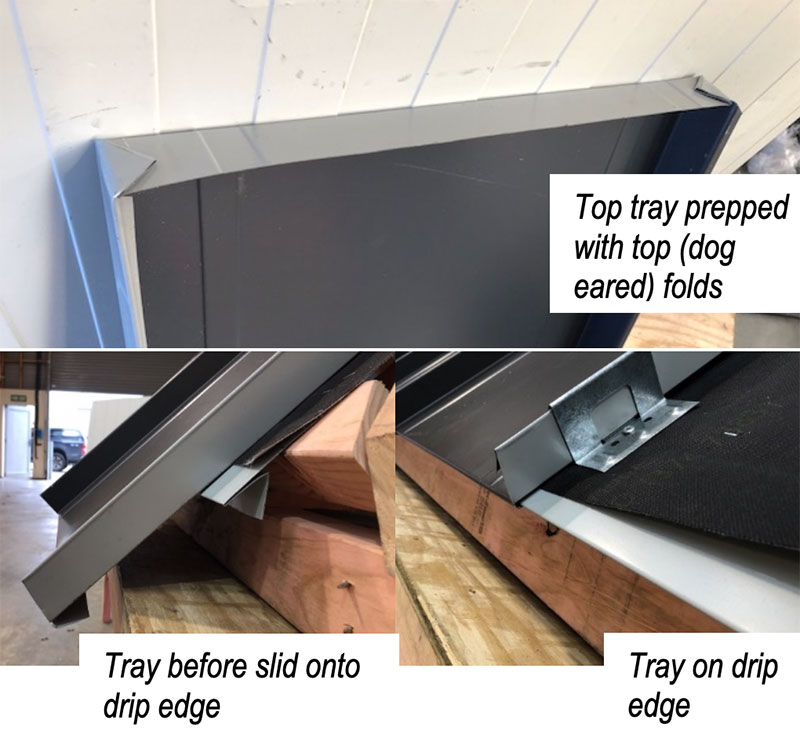
Correct Preparation of the Tray
It starts with the top and tailing of the trays.
It may sound simple, but it is an important piece of the puzzle that sometimes gets missed out.
- Care must be taken when cutting and bending the trays.
- It is a requirement to have a drip edge or grab flashing at the bottom to reduce the chance of water tracking back (on some projects the trays have not even had a turn down done).
- Trays should be turned around on the drip edge to help alleviate the noise caused by wind rattling the trays.
A correctly prepared tray should look like this:
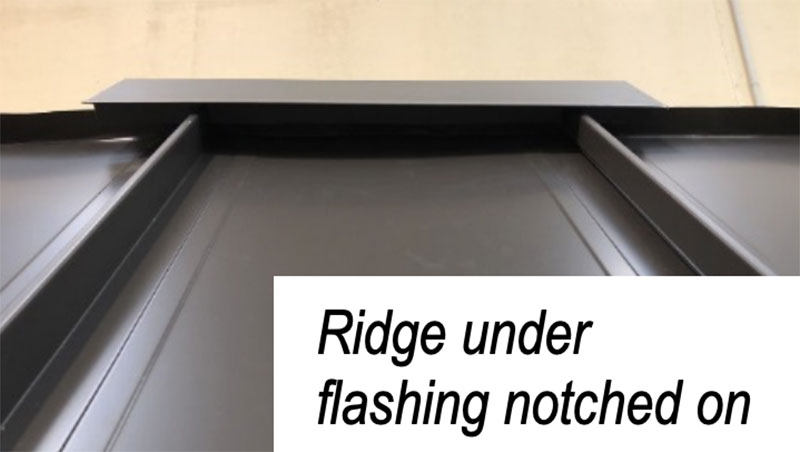
INSTALLATION
Once the trays are correctly prepared they need to be correctly installed.
- the tray needs to be prepared with the correct folds, there is no need for silicon in the top corners, at the top fold.
- Ridge under flashings are then installed with notched turn downs.
- Flashing turn downs should always be notched.
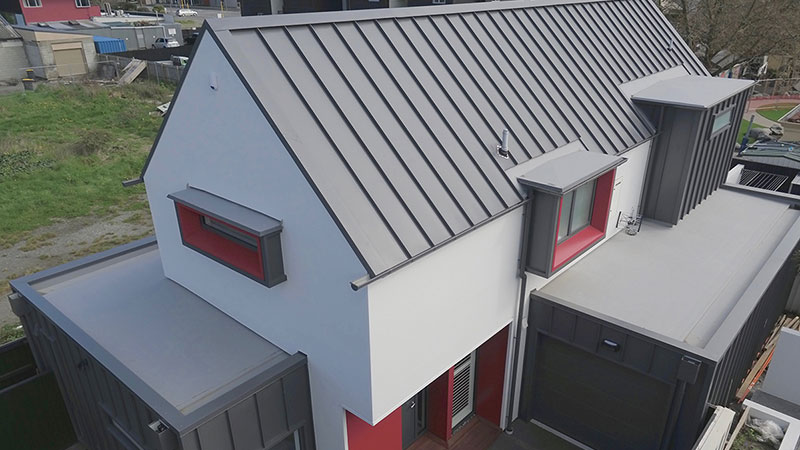
Tray roofing is favoured by architects for its sophisticated and seamless design and one of the great benefits is having a minimal amount of fixings visible.
The ridge under flashings are notched and fixed in place and the over flashing is installed without fixings. This provides a seamless look, allows for movement and a reduction of oil caning on the ridge flashings.
Riveting the ridge directly to the tray is not an acceptable way to install because over time, with movement, rivets will shear, and the ridging will come off. The correct procedure is to use the over flashing.
- A typical barge is hooked on with an under and over flashing, so again there are minimal fixings.
- Valley flashings should be designed so trays can be hooked on the same as at eave line.
OTHER PITFALLS TO AVOID
In some instances, trays have been installed straight on without being turned down. Not only will the wind then get under and rattle the trays, there is a greater chance of water tracking causing potential leak issues.
Issues can also be caused by installing the tray and doing nothing, Leaving it unprepared.
There are various types of trays but they all should work by these same principals.
All these simple key details are required for a complete and successful finish.
It’s building the basics.
There is not a lot to getting it right but getting it wrong, can have serious repercussions.
Customers deserve to have their product installed to a professional standard.
Poorly installed jobs – often are only resolved by preplacement of all the trays.
KEY MESSAGES
- Trays prepared correctly
- Correct components
- Make sure your installer takes the time and does it properly.
Nathan Maxwell – CS Roofing Canterbury